A Light Box in Heavy Times
My son is nearing his second birthday, which makes him nearly two years old. When he was only four months old I decided that I would make him something with buttons. I didn’t have much more of an idea than that, but I ordered one hundred illuminated buttons and started mulling what to do with them. Nothing much happened for a few months; I knew this was a long term plan. But every so often my subconscious would come up for breath, and I would open the drawer and get them out. Just to see how they felt.
And when he started to be able to stand up and started to become interested in the piano, helpfully illustrating how thin the walls were, the plan pivoted toward making a musical instrument. For this I needed a different kind of switch. The Bôite Diablolique hummed to life on his first birthday.
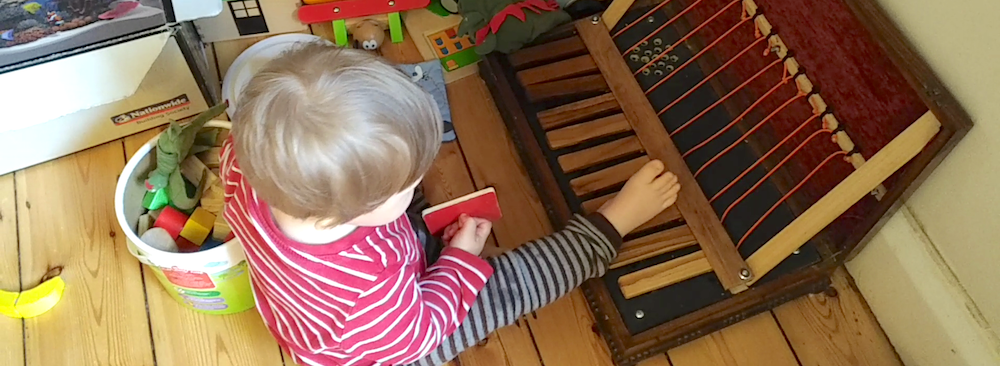
Unlit, the illuminated buttons slept on.
As soon as his first birthday had established itself the clock started ticking on his second. Throughout the winter I plotted. I acquired vintage wooden boxes. None were quite right, but would maybe serve for his third or fourth birthday. I was looking for something to accommodate a large isometric grid, in the shape of a hexagon. I gradually converged on the idea of a honeycomb structure, composed of glowing orange lights.
I started to tinker. I calculated what size hexagon I could build with the available number of switches. I spent hours (to my shame, on transatlantic flights) working out how to wire up a square grid into a hexagon. It’s easier said than done.
An isometric grid is just a square grid, tilted over so the squares are parallelograms. A hexagon is made up of three of these grids. It’s very simple:
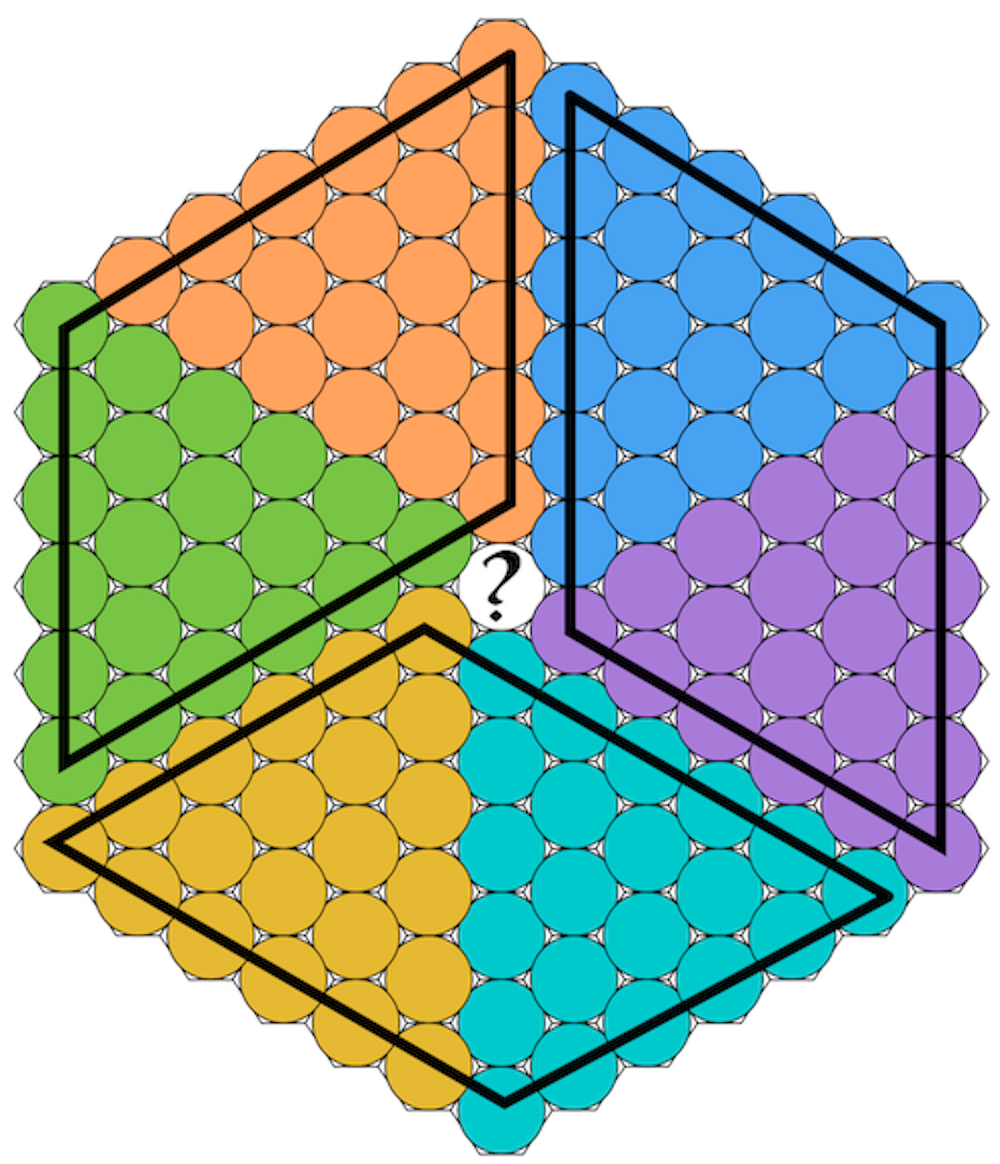
Except, of course, it isn’t.
The chip I was planning to use, a Holtek HT16K33 allowed for one 8 x 16 grid. With a 7-size hexagon these simply didn’t have a common denominator, so the grids would be neat until they suddenly weren’t.
And, more to the point, what do you do about the middle dot?
Of course, in theory, you can run wires anywhere. So I tied myself up in knots trying to route the wires without tying them up in knots.


(at the time I was planning to use a IS31FL3731)
M-M-M-M M-M-M-M-Market Day
And then, on market day in Oxford, I came across the perfect box. Just right for a toddler to carry round. It immediately answered two questions:
- Which box shall I use?
- Can I really bear to go to all of that hassle just for a hexagon?
Given the size and shape, I was able to keep to an isometric grid, but instead would make it rectangular rather than hexagonal.


Once I contented myself to the new layout I realised that the hexagon had become a big old albatross, which I was happy to put to bed.
Hardware
That evening I printed out a grid, made pilot holes, and went round to my friend James to use his column drill. “The thing about all of my projects,” I said to James over my shoulder as I misaligned a hole, “is that I always end up making an annoying mistake”. Grids are particuarly unforgiving, but unless you look closely, it’s not easy to see it.
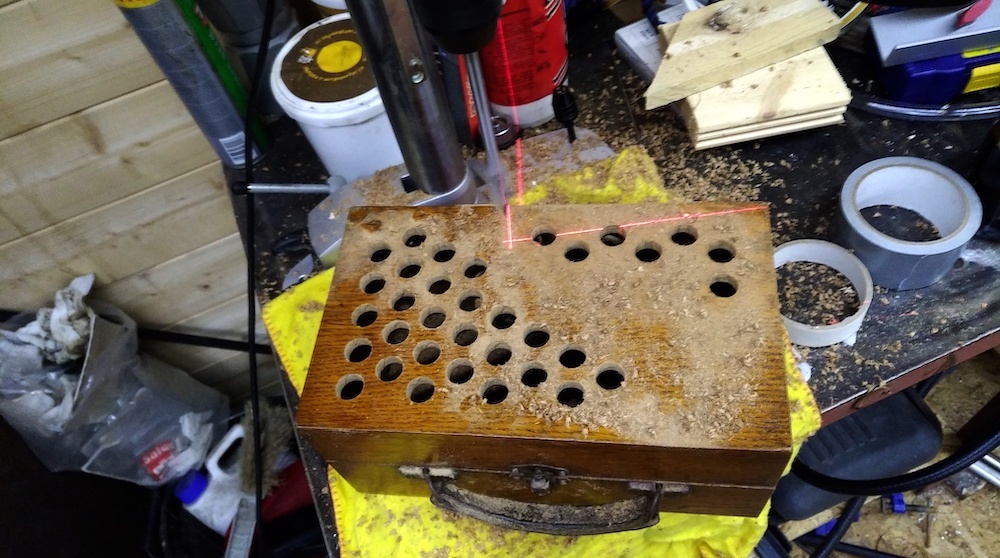
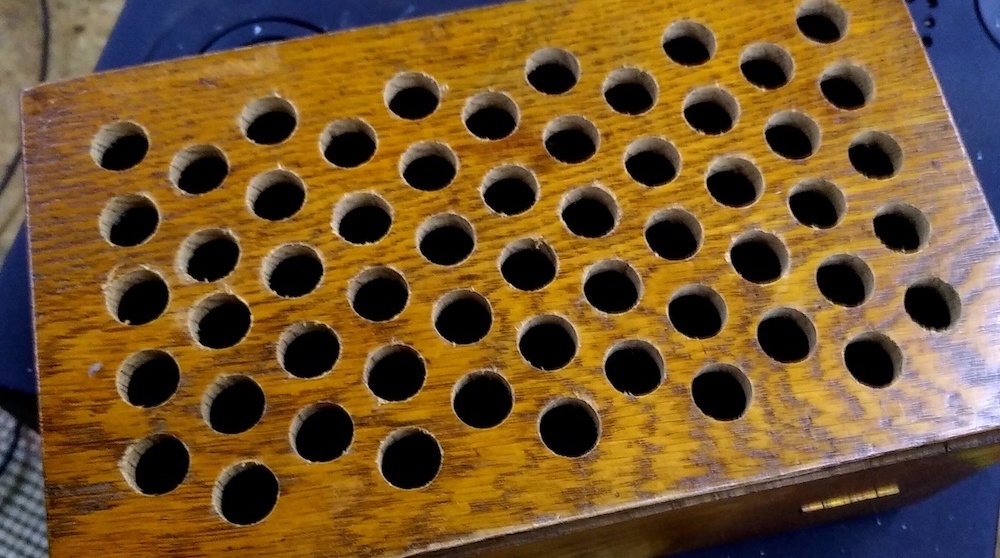
Sailing was significantly plainer without having to worry about bending a square grid round into a hexagon.
I had wanted to give the feel of an immersive environment of elements rather than a small selection of buttons to choose from. To cultivate a feeling of plenty, as my wife might put it. Trying out a few spacings on paper, I settled on five rows by eleven columns, making 55 elements in total. Though it was short of the hundred-odd switches I had available, it struck the right balance between parsimony and profligacy.
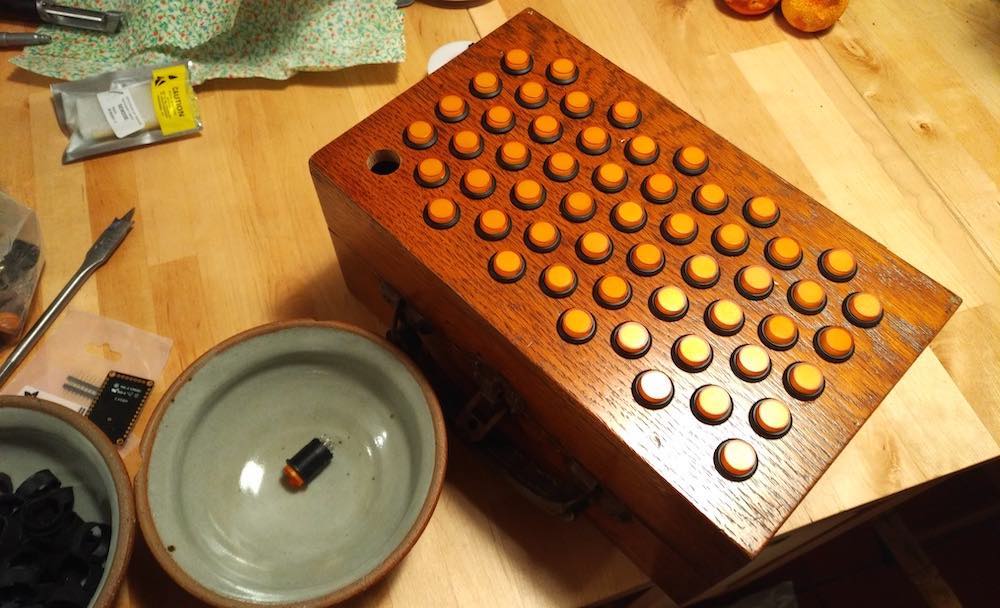
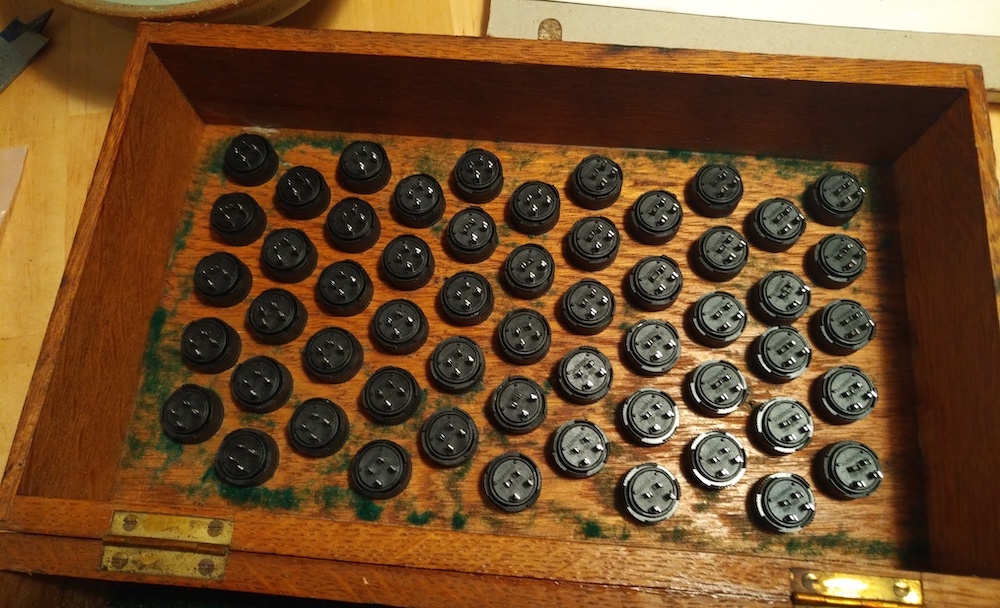
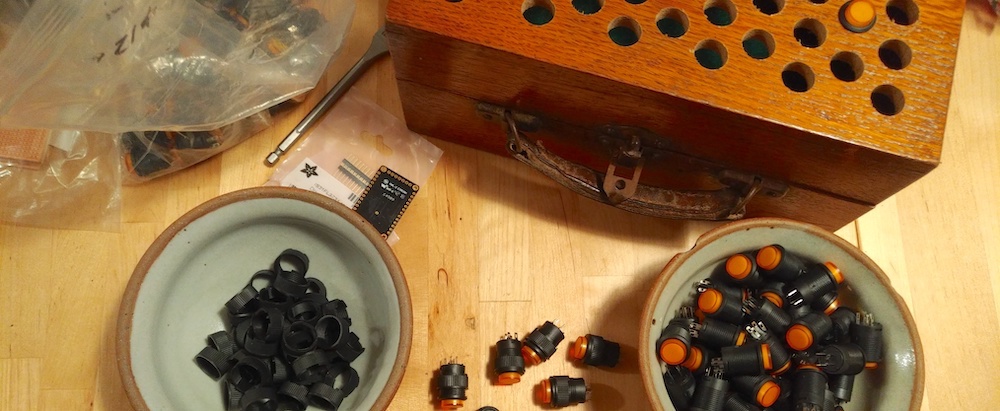
Even so, it was a lot of work to wire up. Each element was both a switch and an LED, so I needed to build two whole separate grids. And I wanted to be able to support pressing many buttons at once, which meant that I had to attach an individual diode to each switch.
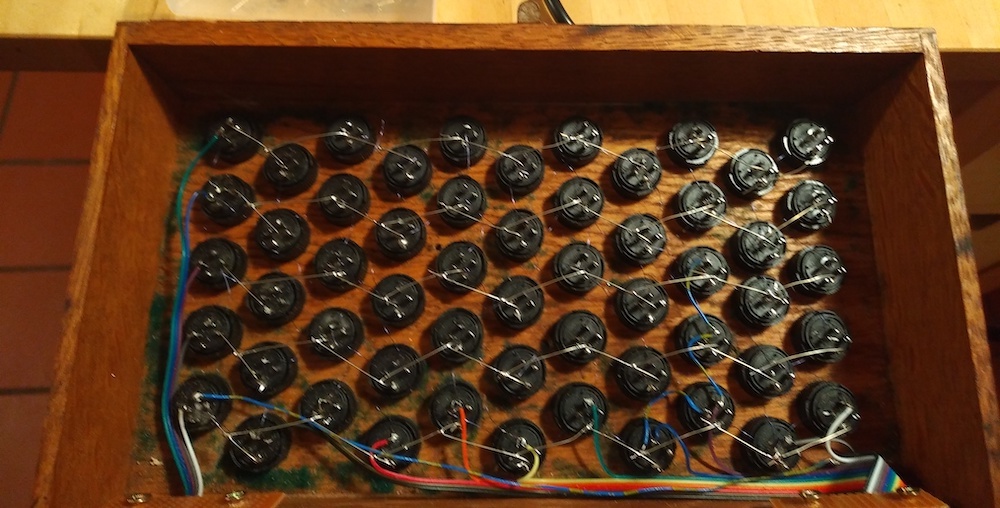
I took two distinct approaches to building these two grids. For first one I threaded wire down the warp and then across the weft. Verowire is amazing for this task: simply pass it through the hole of each component and then solder it, melting the insulation off in the right place.
Time Warp
It was around this time that the COVID-19 virus started to creep closer to home. I started to work from home, we cut down social contact and work, and within a day or two we had come to the conclusion that we were self-isolating.
It takes quite a mental shift to decide to put ourselves into isolation, to the point of cancelling work and childcare. But even as I write this we’ve only been doing it for two weeks, which isn’t such a long time really.

Society has made a massive adjustment in a short space of time, and it’s easier to hit a target if you aim for something more extreme. And so the first few days, even if they only were a few days, felt more isolated and desperate than perhaps they really were. Having an escapist task, alternating between meditative and thoughtful, was of immense help. I found it very useful to have a hobby to do in the evening, and something to work toward.

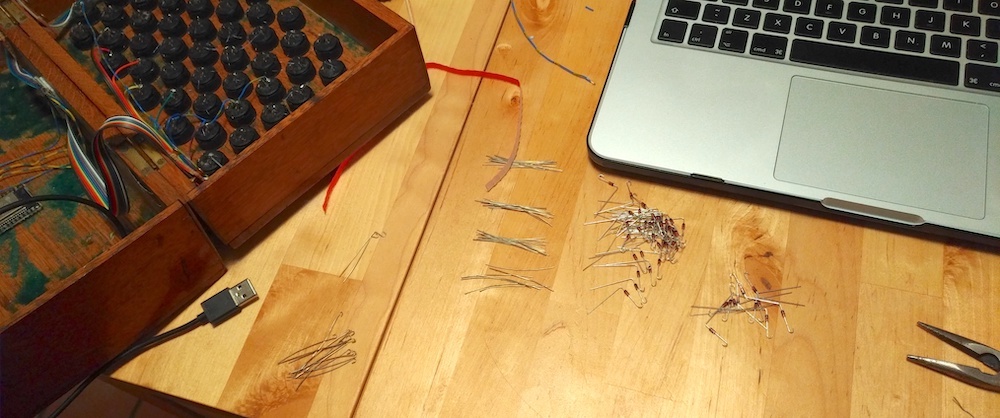
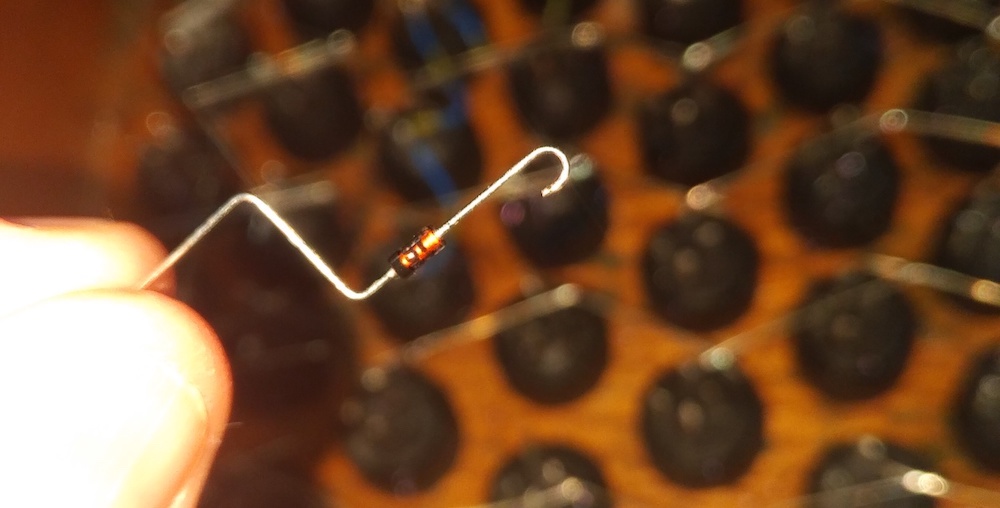
The second matrix, that which connected the switches, required less threading and more building. I bent 55 pieces of wire into shape with pliers for the rows. I did the same but different with diodes for the columns. Being an isometric grid, every other column was offset, which meant I had to create a zig-zag line.
As I was building this out of un-insulated wires, the warp and weft of this matrix had to be at different levels, strong enough to stay put even when subjected to the whims of a toddler.
Isometric
Isometric grids are in a class of their own. I’ve always found them particularly beautiful, so when I started looking on line for other isometric or hexagonal LED grids that people had made I was quite surprised to see that they were few and far between. The deeply inspirational work of Mohit Bhoite confirmed just how great a hex matrix can look. I don’t see eye to eye with absolutely everyone in the universe but surely there should have been a few more kindred spirits drifting through the universe building isometric LED grids?
I quickly found out why. Soldering this all was awkward. I couldn’t use straight runs of wire, so everything had to be bent the right way. The angle required meant that it was difficult to keep contacts from colliding with each other, especially with two sets of wires (which, as you will learn, became four levels in places). All in all, a bit of a nightmare.
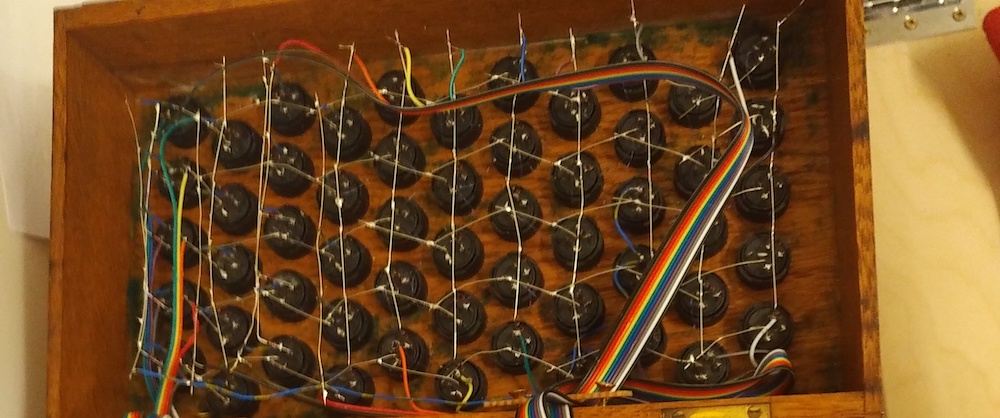
I could probably have put together a normal square grid in about half the time. But it wouldn’t have been at all the same.
The first LED demo was very exciting. I would have been a fool to waste this on something as prosaic as a square grid.
Ghosts
Once all the switches and lights were put together, I had to do something useful with it. I used an ESP32 board, which is a disconcertingly capable and even more disconcertingly cheap, microcontroller. The first program I wrote simply scanned the buttons and toggled the corresponding LED on or off. This was the first Manifestation of the Ghosts.
The first columns worked flawlessly. But the last four behaved very strangely.
My first thought was that the LED matrix was somehow getting shorted with the keyboard matrix, sending spurious signals. That might explain why some LEDs seem to latch, as the LED lighting up might have triggered something. There was also a phenomenon where a lit LED might trigger an adjacent one.
Amusing as it was to play with something reminiscent of a Conway’s Game of Life, it wasn’t what I had intended to make. And if it had, I’d rather have been able to explain why it worked.
I spent a long time trying to debug the wiring. This involved sticking multimeter probes onto the components and doing continuity tests not only on the grids where I expected there to be connections, but between grids where I expected there not to be. Doing this through layers of wires was fiddly. And the fact that I had diodes in the mix really weirdened things up.
Ultimately I gave up, removed the original Verowire connections for the affected four columns and made another layer on top. That made four layers of wires.
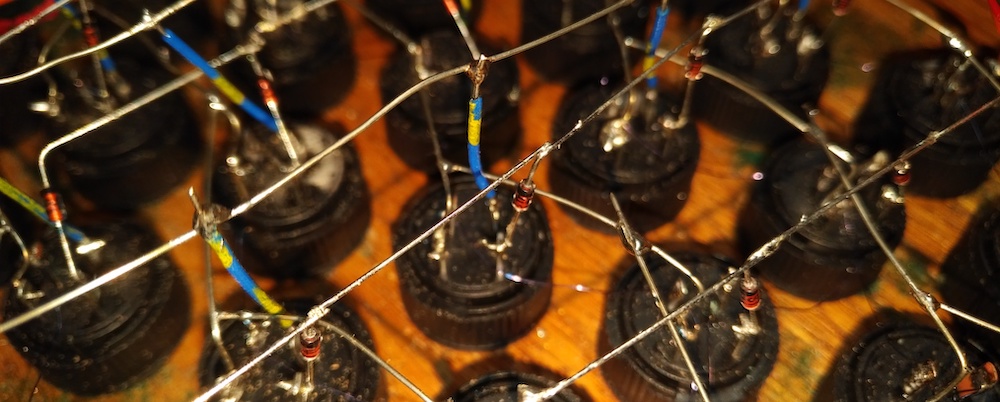
It didn’t help.
Solutions
Those of you who know what I’m talking about are probably screaming the correct answer. Those of you who don’t are probably screaming something else.
Digital input pins detect if the voltage is high (e.g. 3.3 volts) or low (e.g. zero). When you press a switch it connects the corresponding pin to the higher voltage so the microcontroller knows that you pressed the switch. But when the switch isn’t pressed, it doesn’t supply the pin with zero, it simply disconnects it.
The pin therefore casts about for any stray voltage. There’s always some voltage potential in the air. There’s more when you move your fingers close to the wire. There’s even more when you turn on a load of LEDs next to it.
There’s a simple way to deal with this - attach a resistor to ‘pull up’ each pin to positive so it defaults to thinking it’s on. But chips such as the ESP32 can be configured to automatically do this using their own internal circuitry. I’d done this right from the start.
I went back to the data sheet of my ESP32 and found the following words:

So, as you do, I wandered down to the Appendix. Behold:

Appendix A isn’t exactly the proverbial “bottom of a locked filing cabinet stuck in a disused lavatory with a sign on the door saying ‘Beware of the Leopard’.” But was un-obvious enough to waste an evening. Which, if I’m honest, is exactly what I needed.
So I dug out a resistor network (the long black blob), attached my own pull-ups, and everything suddenly worked.
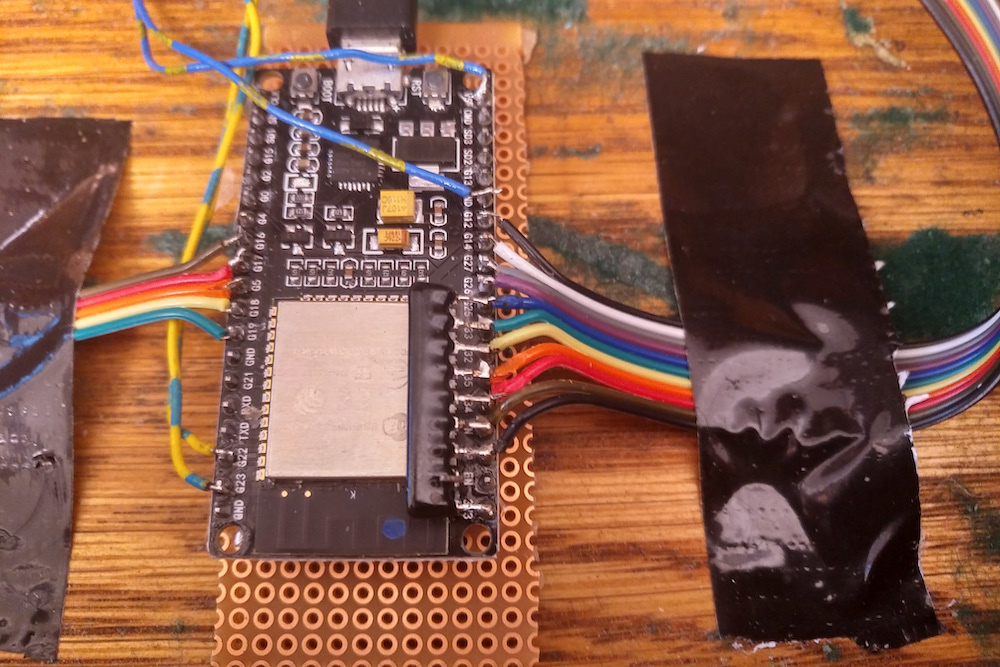
It was about two weeks short of my son’s birthday, but in a time of crisis, boys need lightboxes.
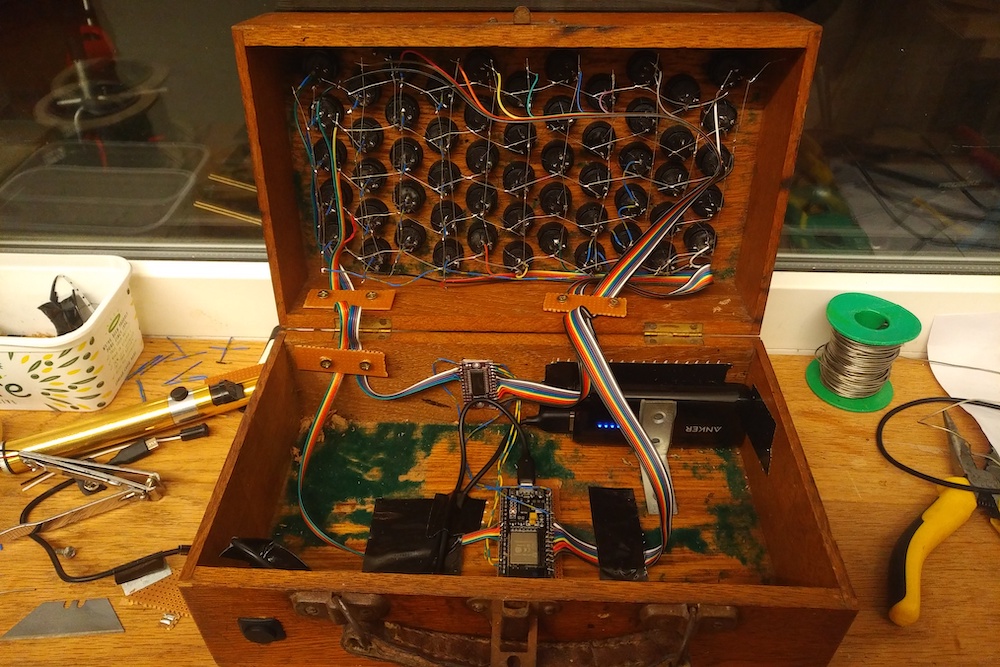
I attached it to an Anker USB rechargeable battery, bolted it together and stood back.
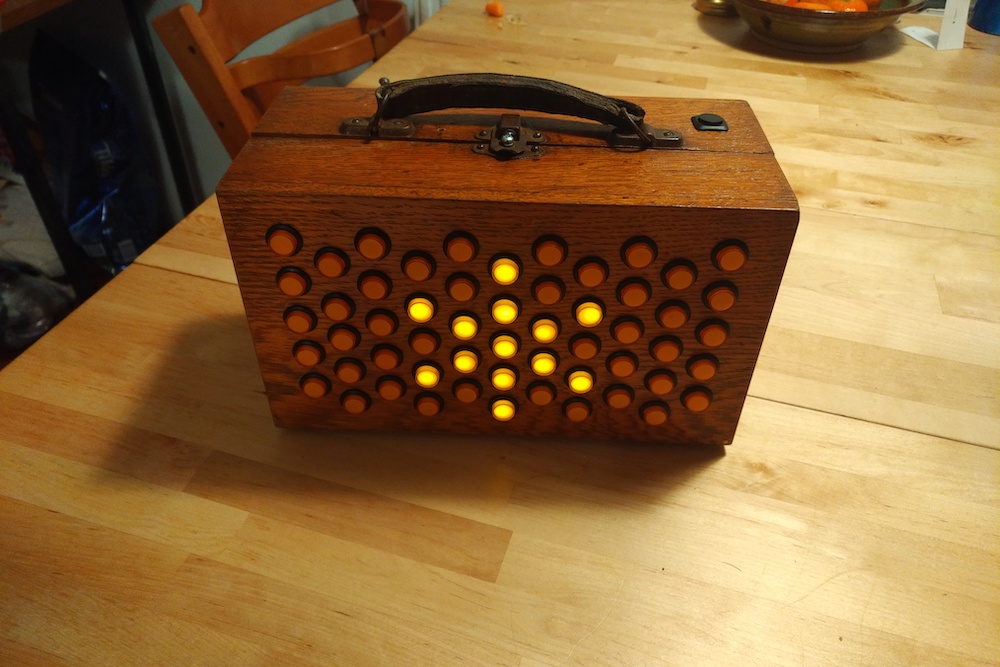
All fun and games
It was late, I was tired, but I had achieved a goal. In fluctuous times, when we had no idea if we were crazy for isolating ourselves away, where advice and statistics changed day to day, it was one small certainty to celebrate.
But what I’d made was a load of buttons which turned on and off when you pressed them. This was more than enough to absorb for a toddler, I thought. But part of my brain was needling me. It was the part of me that said “if you’d only wanted buttons that turned on and off you could have saved yourself a lot of trouble, bought toggle switches, and left out all the electronics.”
It was true. So, like an idiot, I sat down to make a game. Whack-a-mole was both obvious and attainable. Wait for a light to turn on, press it to turn it off. Slowly it speeds up until game over. It wasn’t difficult to make, the hardest thing was tweaking the timing so it was interesting but not too hard for a 2 year old.
An hour later, a special button combination would launch you into a game. I went to bed.
Discoveries
My son was very excited to open his present. He immediately set to pressing buttons. His first words were “light!”. He can also say “box”, so I named it the “light box”.
Sometimes he’ll press buttons at random. Sometimes he’ll make lines and clusters of light. And sometimes he will methodically, in arbitrary order, press the buttons until they are all illuminated. Our first session lasted 15 minutes before he lost interest, which I thought was a success.
I tried him on the game. He understood and played it for about 20 seconds, but after that, even when each turn took a few seconds, it was overwhelming. We played the same game manually, with me pressing buttons and him turning them off. Much more personable.
Thinking back, the most enjoyable and edifying times I have spent with computers have been when I had a blank canvas and my imagination. And some of the most alluring but least enjoyable have been when the computer has taken the lead, drowning me in newsfeeds, force-feeding notifications and a never-ending scrolling list of things I should really be paying attention to. My first serious experience of programming, when I was closer to my sons age than my own, was on a BBC Micro, where you were greeted with a blank screen and a BASIC prompt. In these situations the user is not only in control, but responsible for taking initiative. Computers, as they’ve evolved into phones and tablets, have slid further towards suppressing that proactive state of mind. I’ve always wanted to recreate that computer experience for my child, since way before I even had one.
The whole point of the whack-a-mole game was to gradually overwhelm and wrestle control away from the player. Literally the opposite of what I wanted. So, no more software on the Light Box that flashes to provoke a response. I am starting to think of interesting software for the Light Box that does respond exclusively to human input.
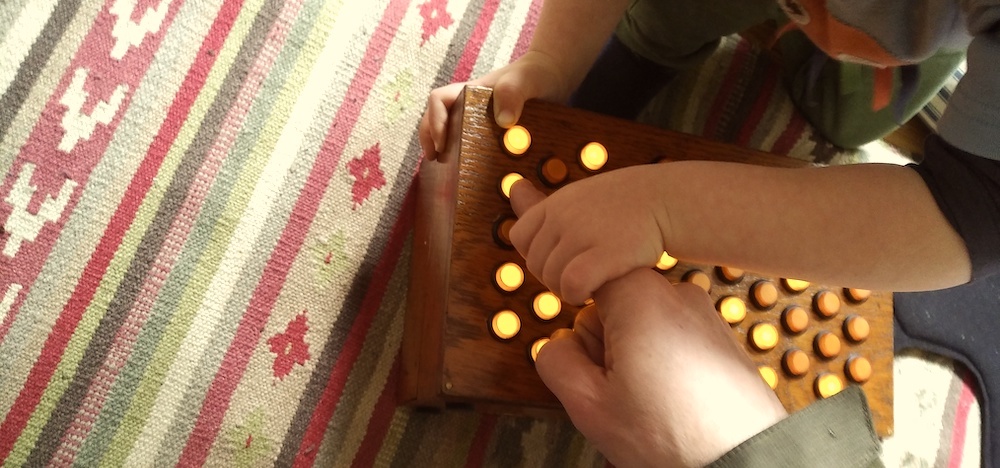
Job done
Of course I gave it to him as soon as I could. Well before his birthday. The result is a happily occupied child. Lights that engage but don’t interrupt. I think that’s something.
And now I need to find him a birthday present.